대부분의 cocoapod 용도는 공개 라이브러리, 프레임워크가 필요할 때 주로 사용하는데
사내에서 많이 사용하는 공통 소스들을 라이브러리로 만들어 사용하기에도 유용합니다.
때문에 cocoapod을 이용한 라이브러리/프레임워크용 private 프로젝트를 정리해 보겠습니다.
우선 소스를 관리할 git 프로젝트를 생성합니다.
저는 'YGLib'명의 Private프로젝트를 생성했습니다.
(Git도 Private로 제공해주니 좋네요^^, 보통 회사에서 사용한다면
GitLab이나 Bitbucket을 사용할텐데 비슷하게 프로젝트를 만들어주면 됩니다)
그리고 소스의 링크를 저장해 두세요.
저의 테스트용 프로젝트가 저장될 git주소는( https://github.com/daddy73e/YGLib.git ) 입니다.


다음, cocoapods이 설치되어있지 않았으면 아래 명령어를 통해 cocoapods설치를 해둡니다
sudo gem install cocoapods
설치 후 프로젝트를 만들 폴더로 이동하여 아래 명령어를 통해 프로젝트를 만들어줍니다.
저는 "YGLib"이라는 이름을 사용했습니다.
pod lib create [프로젝트명]

* What platform do you want to use?
-> 어떤 플랫폼에서 사용할 라이브러린지 묻습니다. 저는 모바일용 라이브러리를 개발할 예정이라 iOS 로 선택했습니다.
* What language do you want to use??
-> 사용언어를 묻습니다. Swift라이브러리로 만들것이기 때문에 Swift 로 선택했습니다.
* Would you like to include a demo application with your library?
-> 라이브러리안에 라이브러리를 테스트해볼 데모 앱을 만들지 묻습니다. 라이브러리 수정할 때마다 테스트해볼 프로젝트가 필요하기때문에 Yes 로 선택했습니다.
* Which testing frameworks will you use?
-> 유닛 테스트를 위한 프레임워크를 사용할건지 묻는데 저는 None으로 선택했습니다. Quick관련 궁금하시면
아래 링크를 들어가 확인해보세요 ~
https://quick.readthedocs.io/en/latest/
Quick
Quick is a behavior-driven development framework for Swift and Objective-C. Inspired by RSpec, Specta, and Ginkgo. // Swift import Quick import Nimble class TableOfContentsSpec: QuickSpec { override func spec() { describe("the table of contents below") { i
quick.readthedocs.io
https://github.com/Quick/Quick
Quick/Quick
The Swift (and Objective-C) testing framework. Contribute to Quick/Quick development by creating an account on GitHub.
github.com
* Would you like to do view based testing?
-> 해당 기능을 Yes로 선택하면 FBSnapShotTestCase가 기본적으로 설치됩니다. Facebook의 테스트 프레임워크인데 복잡한 뷰컨트롤러테스트를 쉽게 할 수 있도록 도와준다고합니다. 라이브러리에 View를 포함할 예정이기 때문에 Yes로 해두었습니다.
라이브러리용 프로젝트가 만들어졌습니다 :)

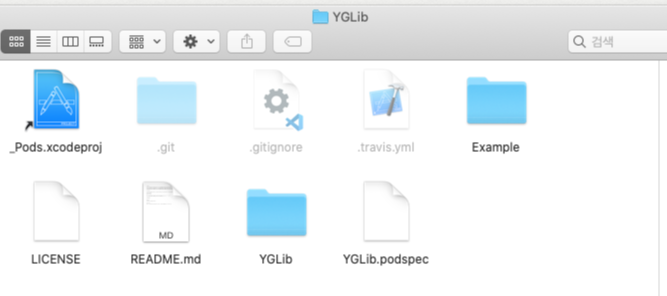
이제 _Pods.xcodeproj를 실행해 프로젝트를 확인합니다
왠지 고쳐야할것같은 ReplaceMe.swift를 뒤로하고, '프로젝트명'.podspec파일을 클릭합니다.
그래고 해당 lib프로젝트의 설명을 변경해줍니다.
s.name -> 라이브러리 이름
s.version -> 라이브러리 버전
s.summary -> 요약 설명
s.description -> 상세 설명
s.homepage -> 홈페이지 주소
s.license -> 라이센스
s.author -> 작성자
s.source -> 소스 주소
s.ios.deployment_target -> 타겟 iOS버전
s.source_files -> 소스파일 경로
s.resource_bundles -> 리소스 파일 경로
ex)
Pod::Spec.new do |s|
s.name = 'YGLib'
s.version = '0.1.0'
s.summary = '테스트용 라이브러리'
s.description = '테스트용 라이브러리 입니다.'
s.homepage = 'https://github.com/daddy73e'
s.license = { :type => 'MIT', :file => 'LICENSE' }
s.author = { 'daddy73e' => 'daddy73e@gmail.com' }
s.source = { :git => 'https://github.com/daddy73e/YGLib.git', :tag => s.version.to_s }
s.ios.deployment_target = '9.0'
s.source_files = 'YGLib/Classes/**/*'
s.resource_bundles = {
'YGLib' => ['YGLib/Assets/*.png']
}
end
작성완료 후 프로젝트에 테스트로 사용할 프로젝트를 추가해 봅니다
Classs는 꼭
프로젝트명 / Classes 경로에 추가해주어야 합니다.

라이브러리에서 호출될 메서드를 작성해보았습니다.
import UIKit

public class YGLibTest: NSObject {
    public func callLib() {
        print("call from YGLib")
    }
}

이제 다음 명령어를 통해 git에 올려줍니다
git add .
git commit -m "커밋 메세지"
git remote add origin [git 주소]
git tag 0.1.0
git push origin 0.1.0
그리고 해당 폴더내 [프로젝트명].podspec파일의 경로를 복사해 둡니다
(저의 해당 파일 경로는 /Users/yeongeunsong/lib/YGLib/YGLib.podspec 로 되어있네요)

다음 해당 명령어를 통해 로컬, cocoapods에 repository를 추가해줍니다
pod repo add [Repo이름] [깃주소]
그러면 ~/.cocoapods/repos 안에 해당 Repo이름의 폴더를 확인할 수 있습니다.

해당 프로젝트로 이동후 아래와 같은 커맨드를 입력합니다.
(저는 기존 0.1.0 버전에서 .podspec이 오타 오류가 있어 0.2.0으로 수정후 git에 새로 push후 작업했습니다.)
pod repo push [Repo이름] [.podspec경로] --allow-warnings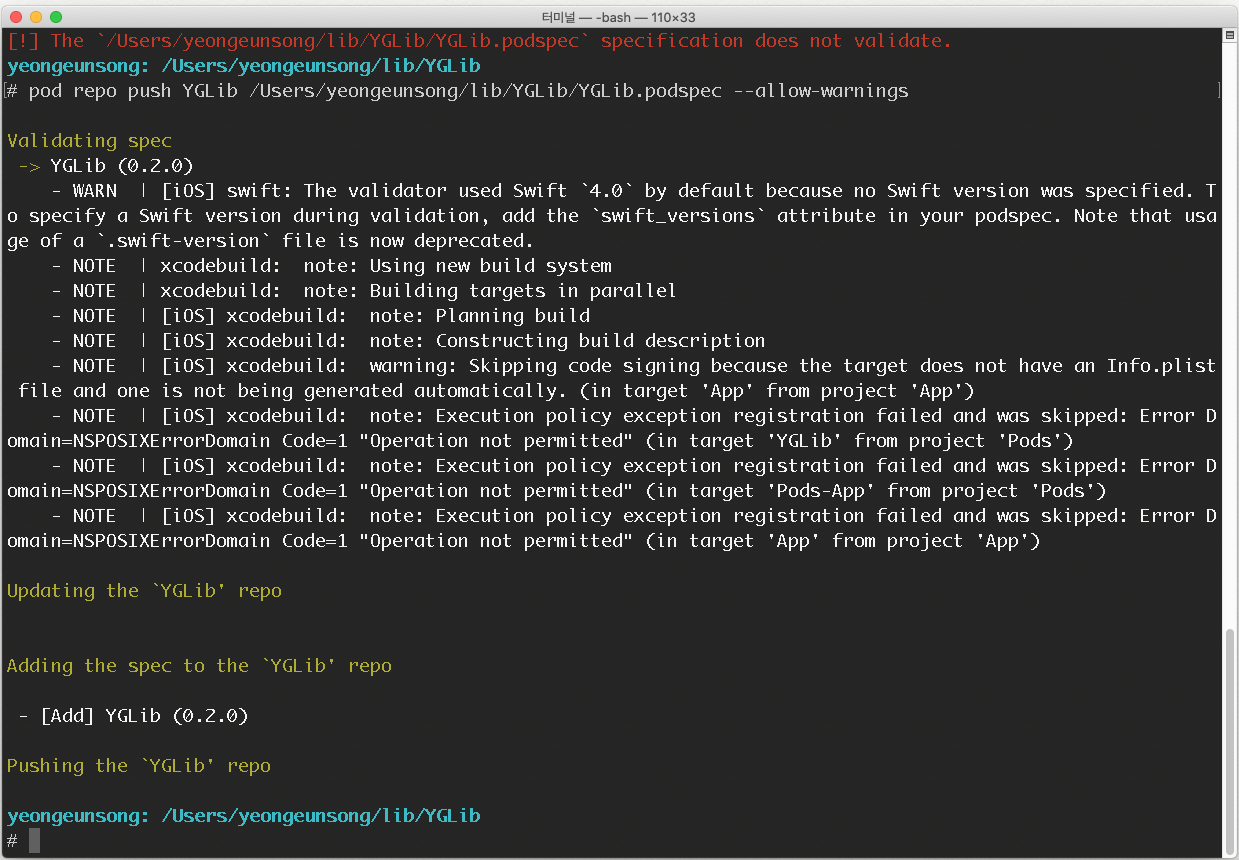
0.2.0 버전으로 첫 배포되었습니다.
(~/.cocoapods/repos/[프로젝트] 폴더안에 버전이름의 폴더를 확인할 수 있습니다.)

** 추가로 라이브러리 폴더 안에서 해당 커맨드를 치면 라이브러리의 이상여부를 체크할 수 있습니다.
pod spec lint

또는

pod spec lint --allow-warnings
---> Swift Custom Framework 만들기(3) - Private Cocoapods
https://daddy73e.tistory.com/6
에서 이제 해당 라이브러리를 활용해 보겠습니다.
'iOS > develop' 카테고리의 다른 글
| Swift Custom Framework 만들기(3) - Private Cocoapods (0) | 2020.07.16 |
|---|---|
| Swift Custom Framework 만들기(1) (0) | 2020.05.07 |
| CocoaPod, use_modular_headers 부분 수정 (0) | 2020.04.24 |
| Swift5 Xib활용, CustomView 만들기 (0) | 2020.04.24 |


